Sweet & Spicy Shrimp Curry

Ugh, is it seriously Sunday already? I can’t believe how quickly the Thanksgiving long weekend flew by! This year we celebrated “Thanksgivmas” with my in-laws, with Christmas presents & jammies on Thursday morning, followed by a more formal turkey dinner in the evening. It was so nice to get into the Christmas spirit a little earlier this year, and even though we felt a bit sad after the family festivities were over, we realized that the official holiday countdown has only just begin! I still have a full week of Christmas celebrates with my side of the family to look forward to in Canada. I seriously cannot wait to gorge on my mom’s amazing food and steal–I mean, learn–more of her delicious recipes :). SO. EXCITED.

Anyways, we’re battling some serious Sunday blues here in the Gupta household, so we decided to whip up some homemade Indian food to cleanse our palate from all the decadent eating we’ve been doing over the long weekend. If you follow me on Instagram, you know what I’m talking about! Also, my husband bought me these amazing kadhai dishes as part of my early Christmas gift, and I was just really excited to test them out.

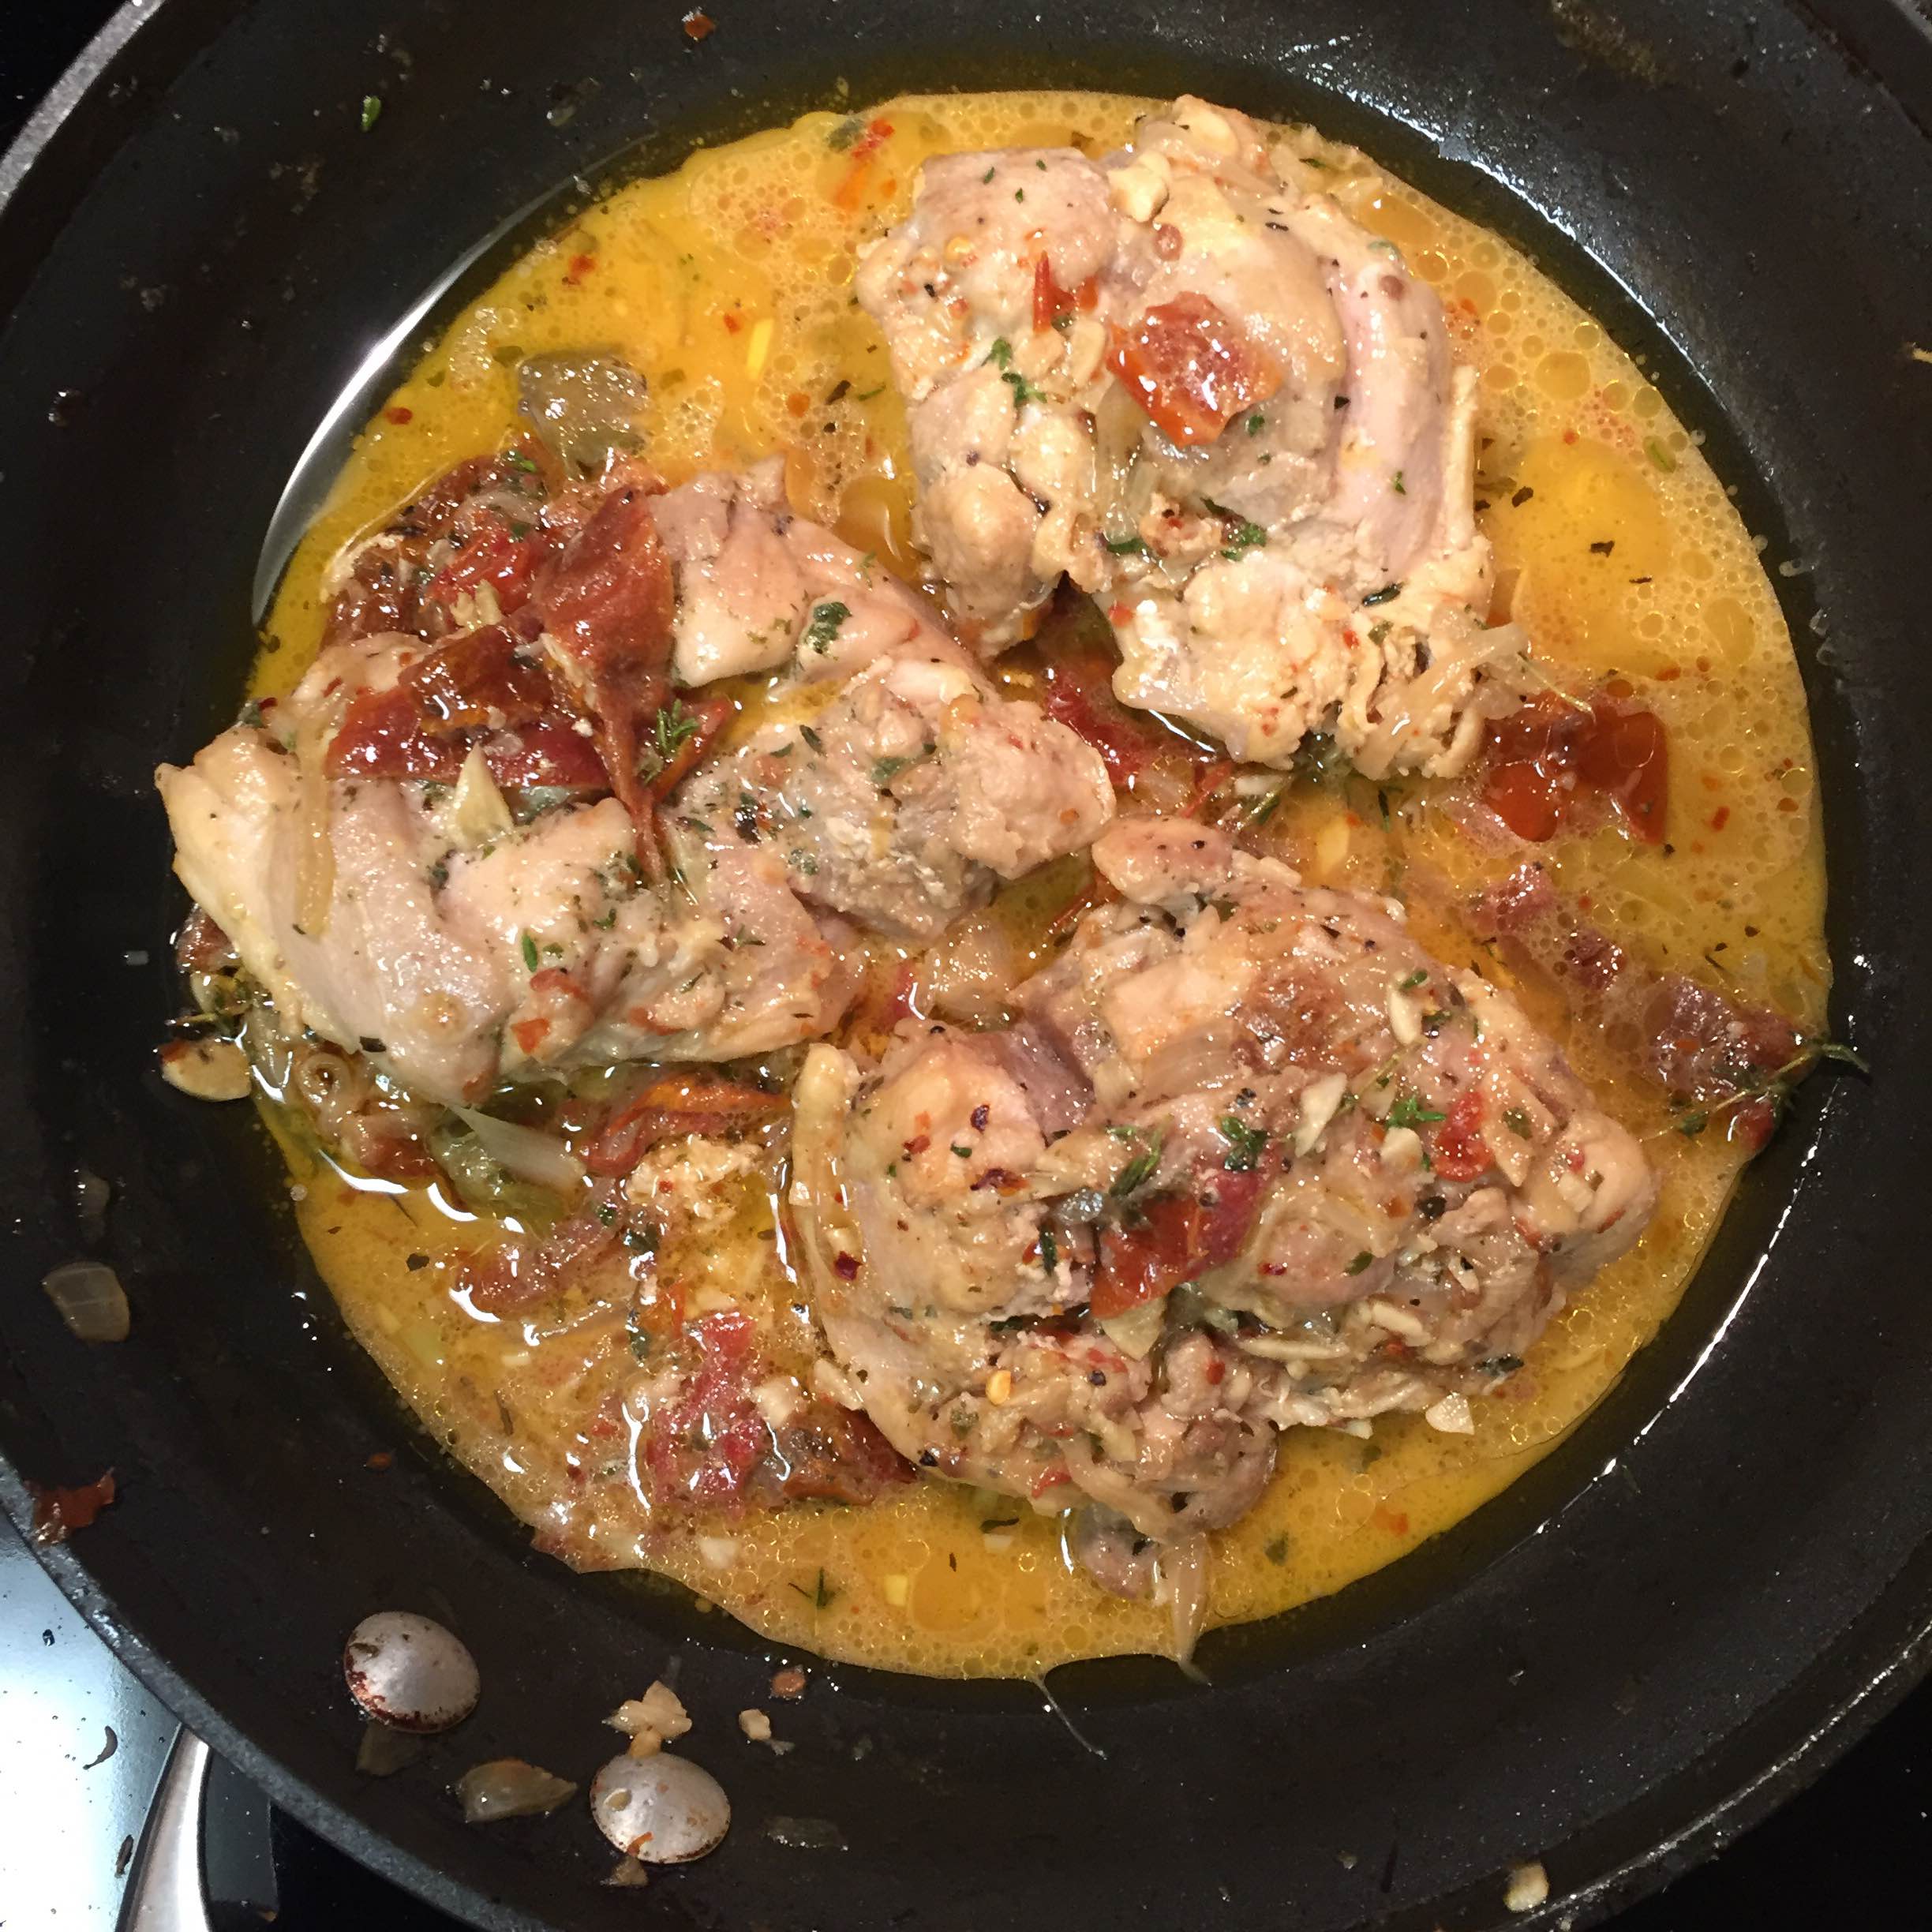
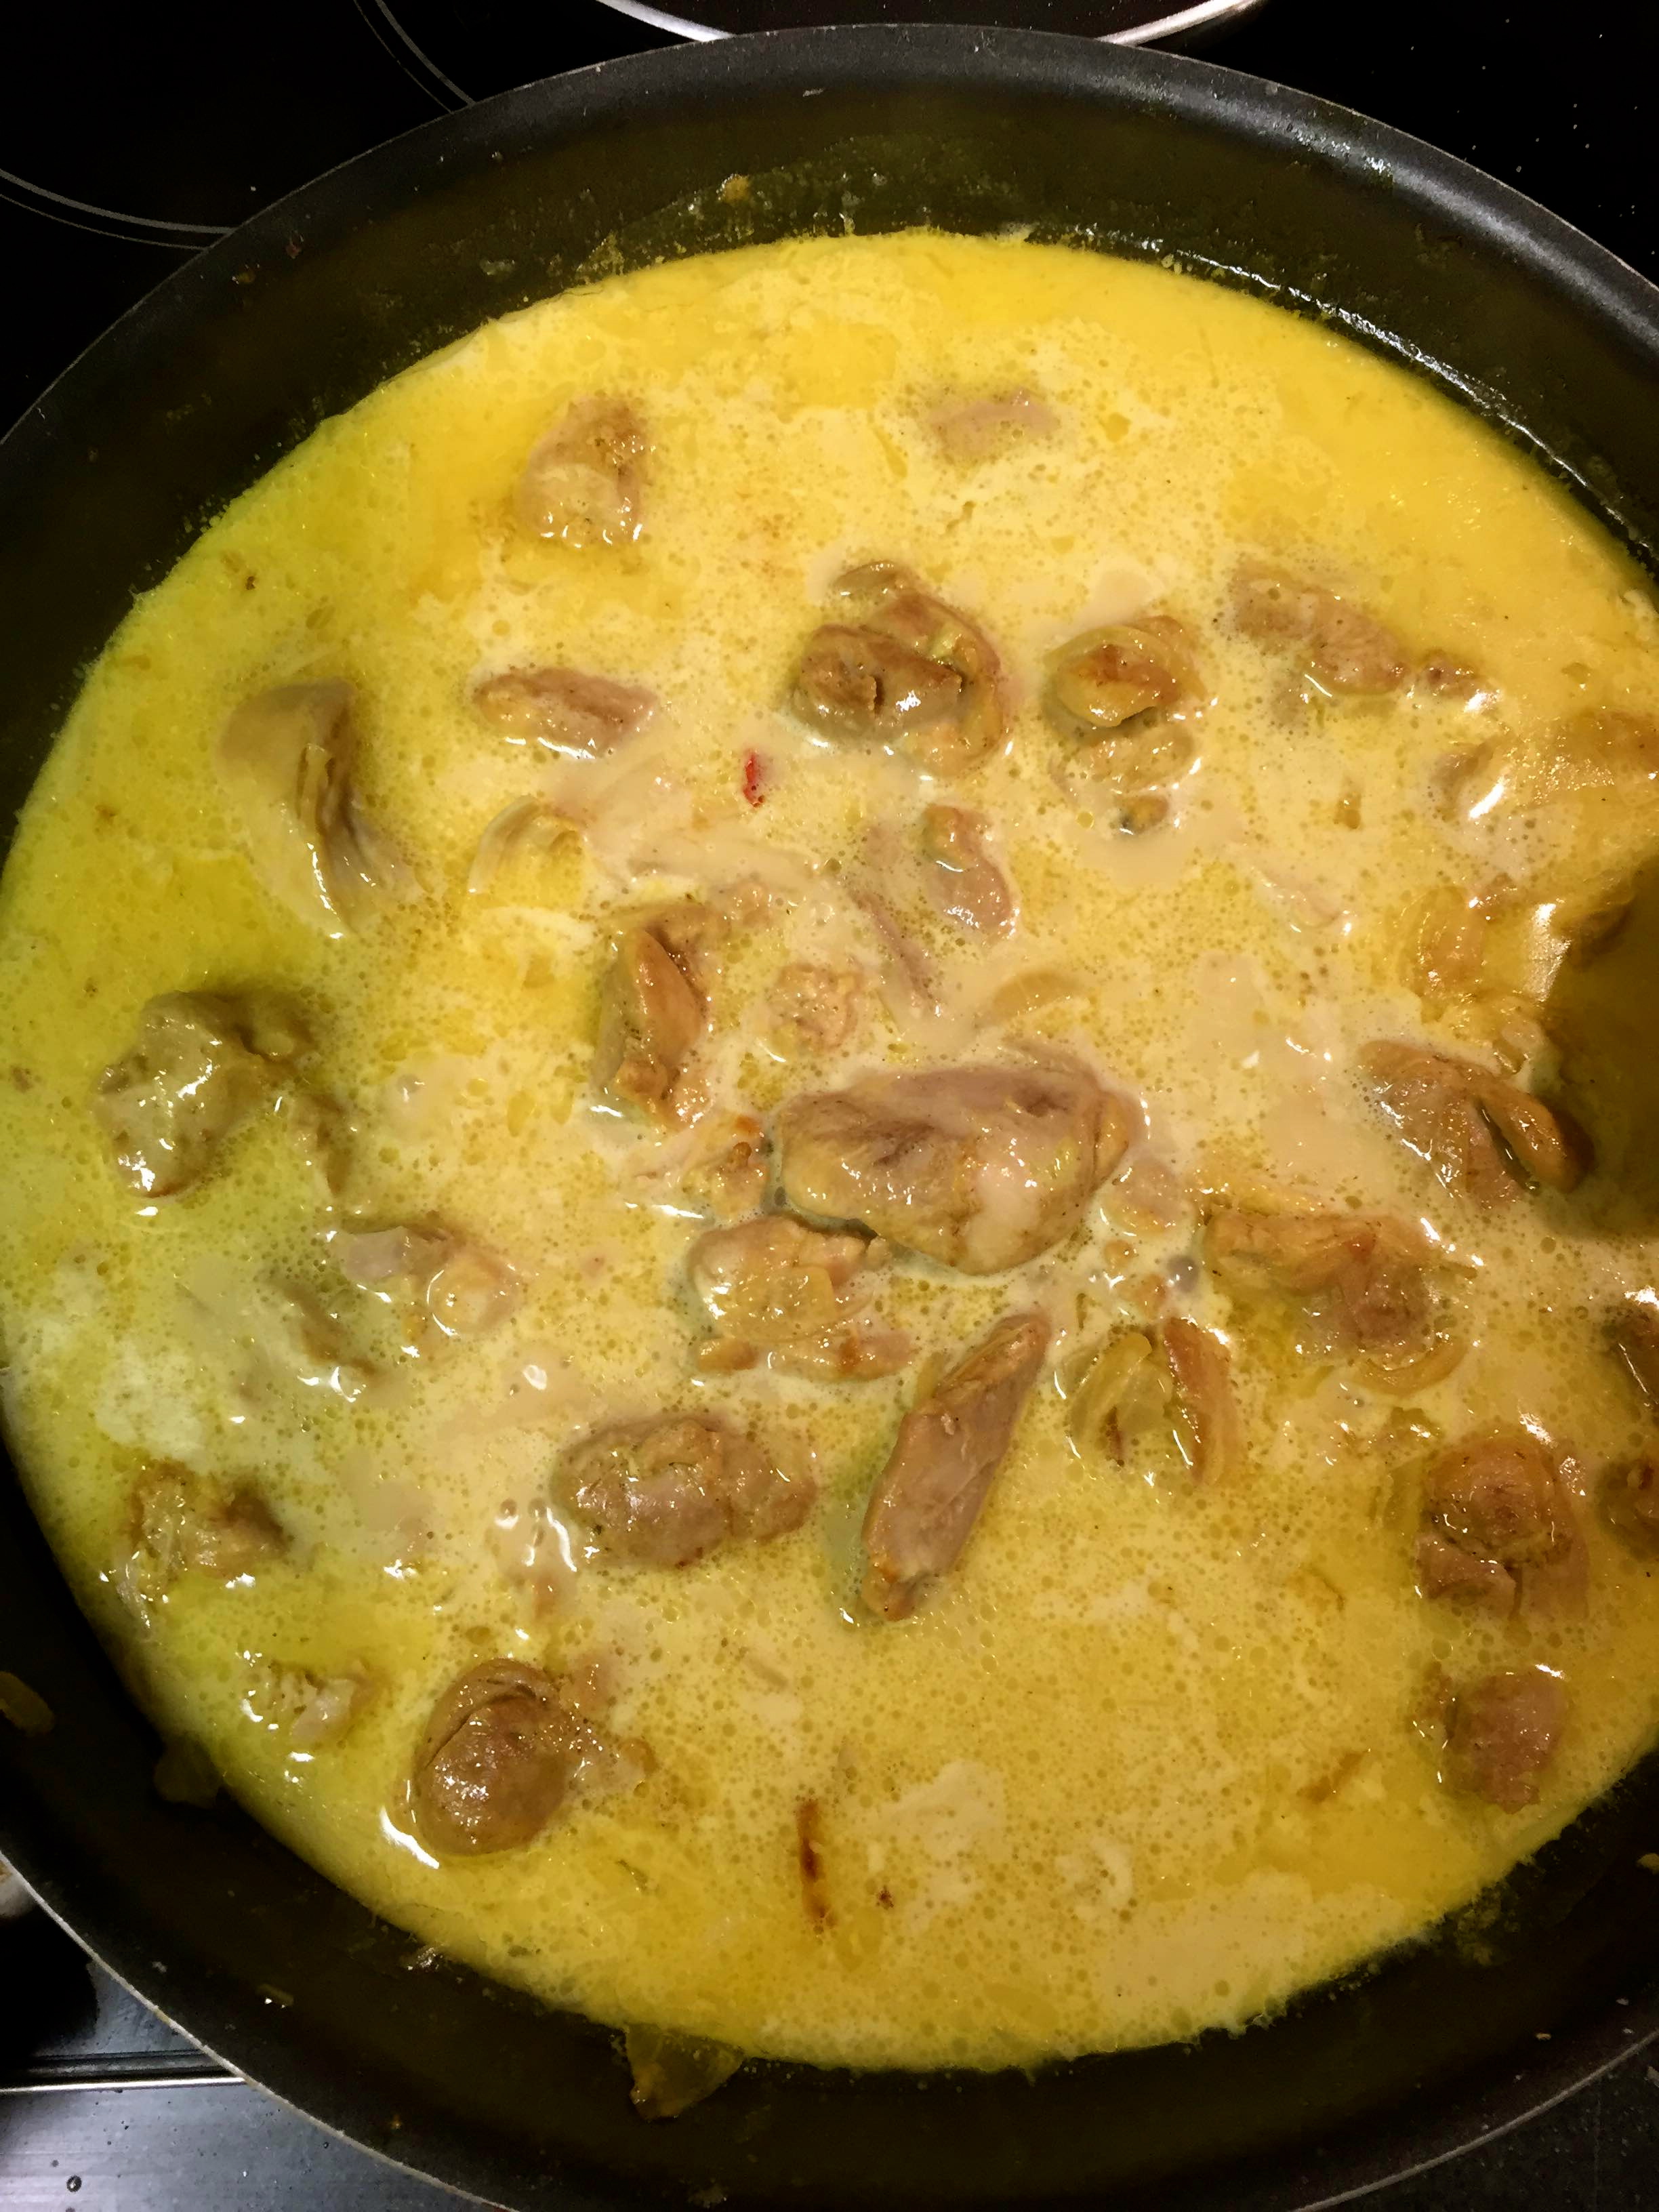
I’ve been making a lot of fish and chicken lately, and wanted to try out a new shrimp recipe tonight. My go-to recipe for shrimp curry involves heavy coconut milk, and I was in the mood for something lighter. I drew some inspiration from this Prawn Patia dish but added some Bengali spices and simplified a few of the steps. I was shocked by how delicious this dish ended up tasting! I love love love adding some sweetness to my curry (true Bengali) and I couldn’t get enough of the sweet and spicy combination. So good, I just had to share with you guys. Enjoy!

IMG_7494


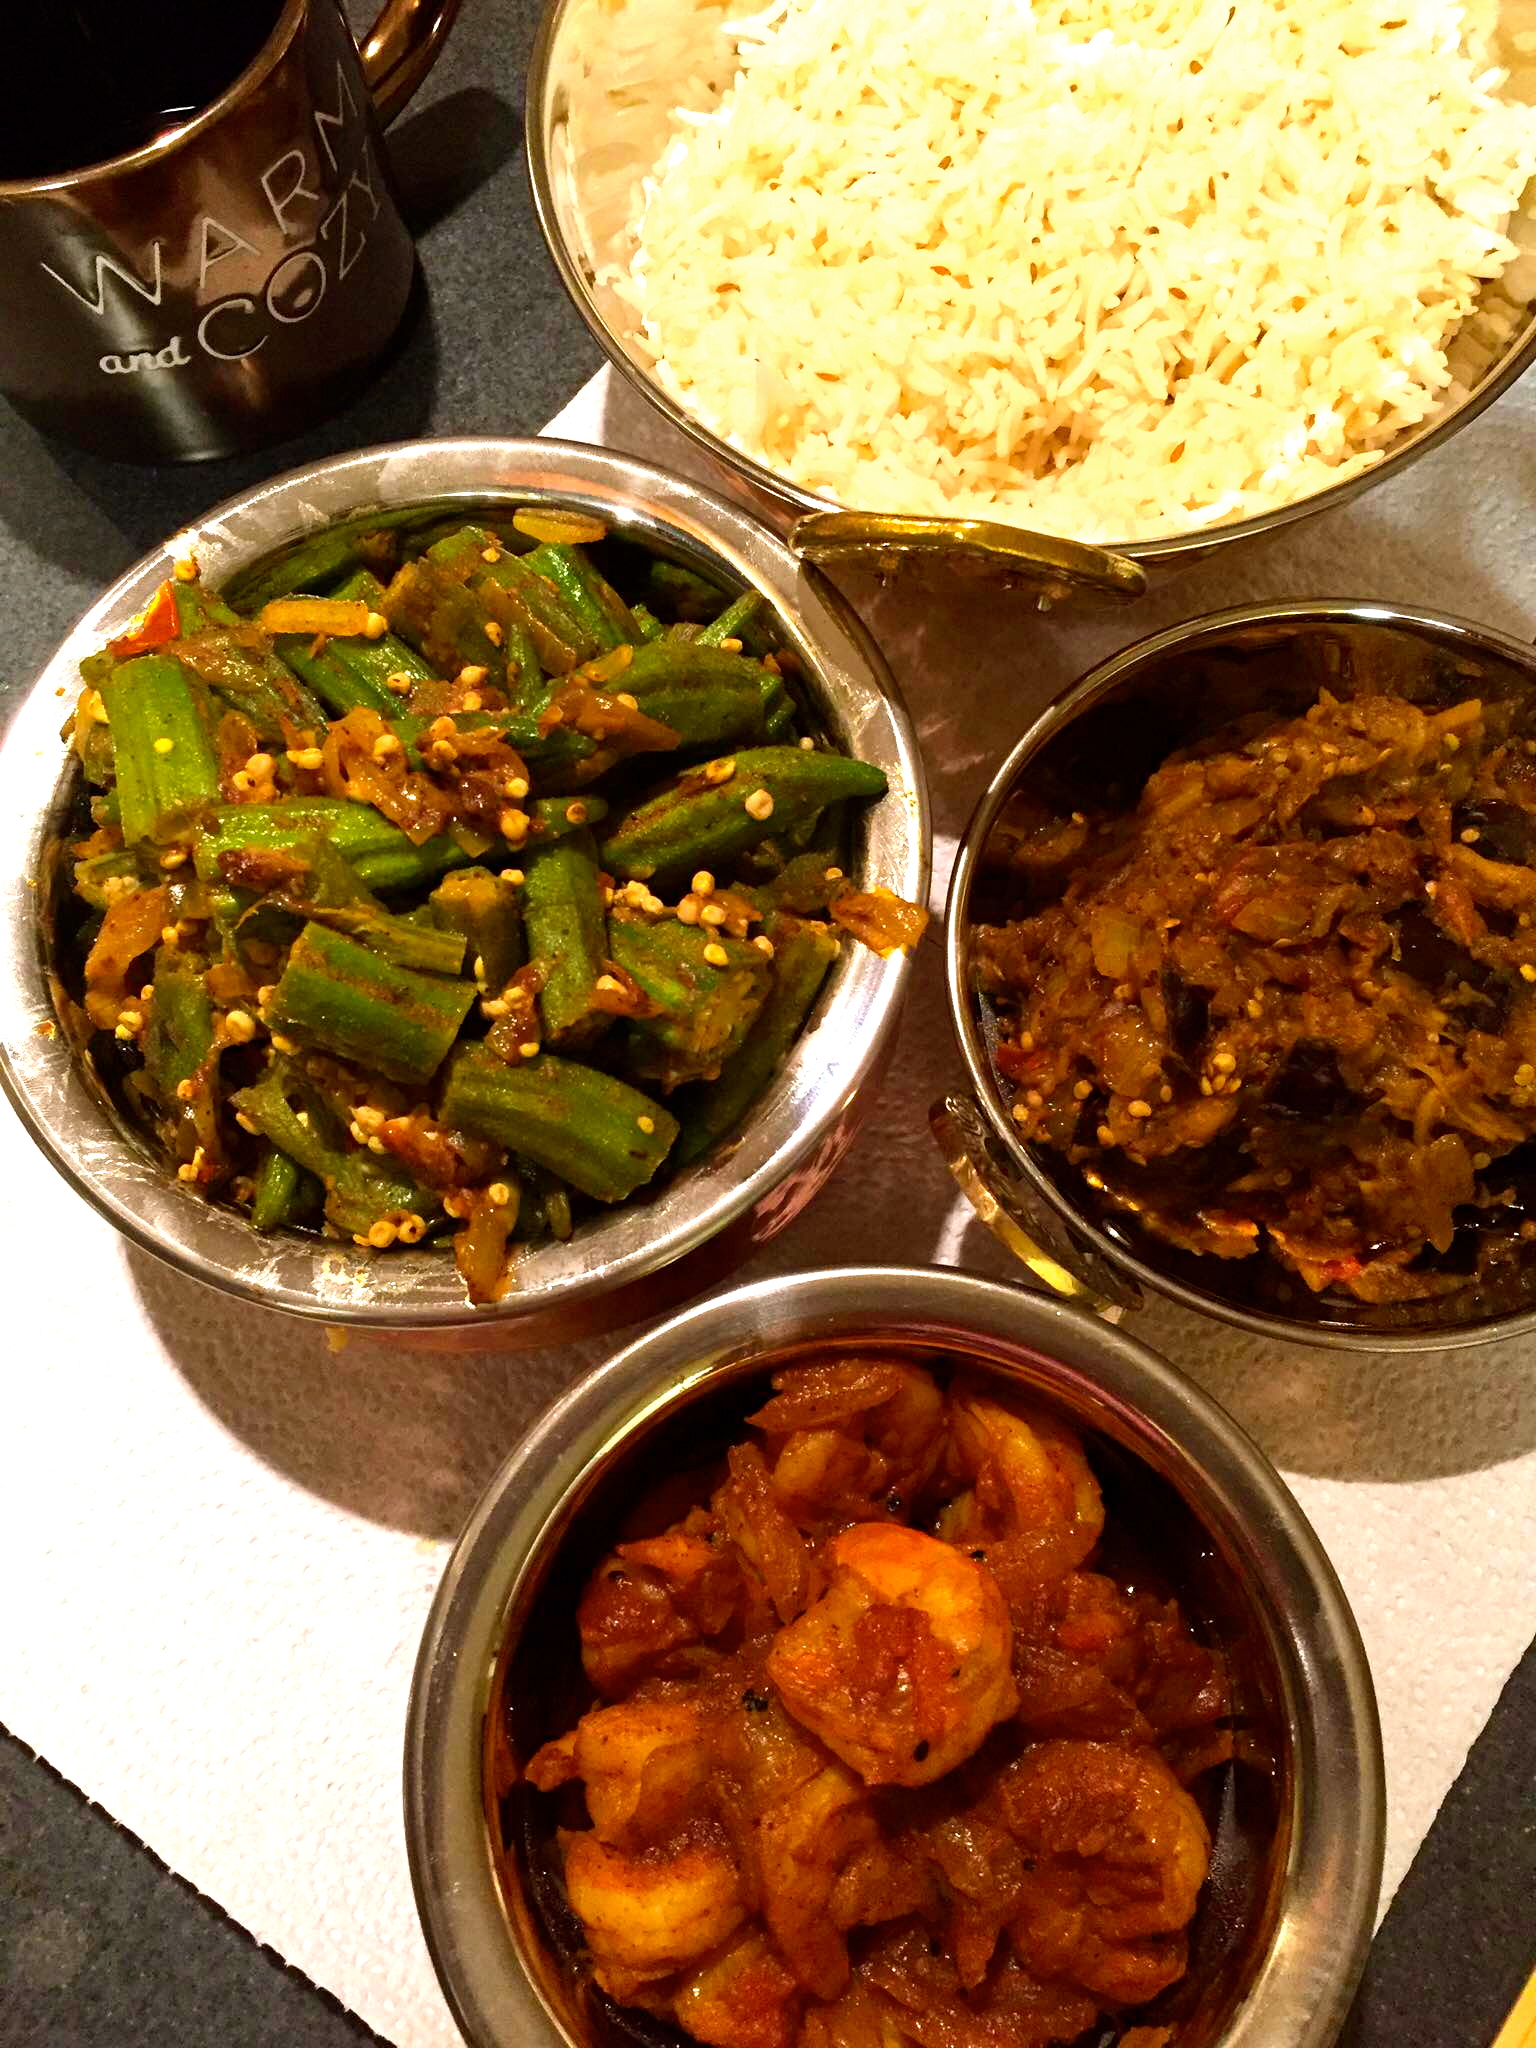
Full spread from tonight’s dinner – bhindi masala, baingan bharta, and sweet & spicy shrimp curry!

IMG_8765

This might be my new go-to shrimp recipe…

IMG_8767

How cute are my new kadhai dishes?!

Ingredients (serves 2)

1/2 tsp kalo jeere (black cumin)
15-20 shrimp, deveined
2 tbsp vegetable oil
1/2 onion, sliced into long slender pieces
1/2 tomato, diced into small pieces and ketchup, to taste
3 garlic cloves, grated
1/2 tsp ginger paste
1 tsp red chilli powder
1/2 tsp turmeric powder
1 tsp cumin and coriander powder
1 sugar cube (or 1 tsp sugar)
1 tsp vinegar
1 tbsp water
Salt, to taste
Cilantro, for garnishing

Recipe

Heat the oil on a large saucepan. Once heated, drop in the kalo jeere for a few seconds. Then fry the onions until they begin to brown slightly. Add the grated garlic and ginger paste and mix together with the onions and kalo jeere. Add the tomatoes and stir continuously until the oil begins to separate. Add salt and the remaining spices (red chilli powder, turmeric powder, cumin and coriander powder) and keep mixing for another few minutes.

Add the sugar cube and stir until it mixes with the onions and spices. Add water and vinegar and cook until the tomatoes are fully cooked with the spices. Drop in the shrimps and cook for a few minutes with the onions and spice mixture. Stir continuously until the shrimp is fully cooked through (around five minutes). Garnish with cilantro and enjoy with hot rice!

Five Non-Traditional Thanksgiving Sides and Desserts

Happy almost Thanksgiving, all! I am so excited for the upcoming week – only 2.5 days of work, followed by some major R&R and eating to my heart’s content with all sorts of amazing comfort food. Thanksgiving. is. the. best. We’ll be celebrating with my husband’s family this year and have been trying to brainstorm a unique, non-traditional side dish that we can bring. After doing some research, and taste testing (in the form of my office’s “Worksgiving” last week), I thought it would be fun to put together a quick list of the five non-traditional Thanksgiving sides and desserts you can bring to your Friendsgiving, Worksgiving, or family Thanksgiving. These are all very Thanksgiving appropriate, just a little different from your standard mashed potatoes and green bean casseroles. Enjoy, and let me know if there’s anything else you would want to add to this list!

IMG_8247

  1. Bacon Parmesan Stuffed MushroomsSource: Center Cut Cook. I’ve made these ridiculously easy but decadent stuffed mushrooms a few times now, and they’re always such a hit. I brought them in for my company’s Worksgiving last week, and everyone was raving about them and asking me for the recipe. I love these mushrooms because they can be made in less than an hour and satisfies even the pickiest eater. I mean, how can you go wrong with cream cheese, parmesan, and bacon? You really can’t! I like to get a little heavy handed with the red chilli pepper flakes for an extra kick that people just can’t get enough of. Foolproof for any Thanksgiving potluck.
  2. Butternut Squash, Kale, Gruyere Bread Pudding. Source: The Gourmet Monster. My coworker made this kick ass bread pudding with butternut squash, kale, and gruyere last week and I can’t stop thinking about it! The ingredients are perfect for fall, but the dish is unique enough to make sure that no one else will be bringing the same thing to your Thanksgiving potluck. Every bite was so delicious, creamy and packed with wholesome flavors–we’re strongly considering making this for our family Thanksgiving!
  3. Bacon Wrapped Dates with Goat Cheese and Apple Cider Glaze. Source: Whitney Bond. This was another dish that a coworker brought in for Worksgiving, and I’m completely obsessed. Whitney Bond’s recipe calls for blue cheese, but you can easily replace it with goat cheese (because why would you ever pick blue cheese over goat cheese?!). The apple cider glaze perfectly enhances the already pretty-perfect salty and sweet mixture of bacon and dates. So yum, and great for appetizers before digging into all that turkey!
  4. Pear Butterscotch Pie. Source: Epicurious. Instead of your standard pecan or pumpkin pie, why not surprise your guests with a pear butterscotch pie? My girlfriends and I tried this recipe yesterday while we were snowed in, and it was absolutely delicious. I’m not much of a baker (I hate having to be precise with my ingredients), but this recipe was really easy and we loved the way the flavors turned out. Not too sweet, but the combination of pears and brown sugar was just delightful.
  5. Molten Chocolate Cake with Caramel Filling. Source: Food & Wine. I always was convinced that there should be more chocolate desserts incorporated into Thanksgiving meals. I mean, chocolate is NOT just for Valentine’s Day, am I right?! This is hands down my favorite dessert recipe for entertaining guests. People are obsessed with the gooey warm, melt in your mouth deliciousness of this molten chocolate cake, and the sea salt + caramel mixture elevates this dish into something more elegant than your standard chocolate cake. Perfect for pleasing those who are sick of pumpkin pie. Trust me, you won’t be disappointed.

Chicken & Sun-Dried Tomatoes in a Garlic Cream Sauce

‘Tis the season for turkey, but I have to admit, I’m always going to favor chicken over turkey. I didn’t grow up celebrating Thanksgiving, but after my family migrated to Canada, we always chose roasting a chicken over trying to handle a big bird. Chicken is just so much more juicy and flavorful! Anyone else with me?!

Anyways, today’s recipe is one of my favorite chicken dishes that would make an excellent non-traditional side for a Turkey Day meal. Or an entree for after Thanksgiving, when you’re sick of all the leftover turkey and craving something new.

IMG_8453

I first discovered this recipe on Damn Delicious, and simplified it even further for the lazy (or time pressed!) cook. My version is really really ridiculously simple, but impressive enough for guests and still damn delicious. Trust me, you won’t be able to stop licking your plate. My husband doesn’t even like sun-dried tomatoes, but he loves everything about this chicken and always asks for it.

Keep reading for the recipe!

IMG_8456

Ingredients (serves 2-4)

6 chicken thighs
2 tablespoons butter
1/4 an onion (or 1/2 small onion), chopped
6 cloves of garlic, diced
1/3 cup sun-dried tomatoes in olive oil, chopped
Parsley flakes, to taste
1.5 tablespoons heavy cream
1 cup chicken broth
Salt and pepper, to taste
Red chili flakes, to taste
Thyme leaves, for garnishing

Recipe

Marinate the chicken in salt and pepper, to taste. Melt the butter on a large saucepan on high heat. Once heated, fry the onions and garlic till the mixture becomes slightly translucent. Add the chicken thighs, fry on each side for a few minutes until they begin to brown. Add the sun-dried tomatoes and allow the thighs to fry a little longer in the olive oil. Lower the heat to medium and add the chicken broth, cream, and parsley flakes. Stir everything together and add more salt if necessary. Cover until the chicken is fully cooked, then garnish with thyme leaves.

Best served with pasta, or just a side salad and some garlic bread to soak up all that delicious gravy. Yum!

Let me know if you guys try out the recipe and don’t forget to subscribe by email (to the right) so you can get immediate updates. You can also like me on Facebook. Happy almost Turkey week!

Mastering My Mom’s Classic Chicken Curry

Happy belated Halloween, all! The last few weeks have been so busy, I didn’t even realize it’s been 12 whole days since my last post. Ahem, clearly I need to do a better job of posting regularly, but I’m not going to be too hard on myself. I want blogging to continue feeling like a hobby rather than a chore.

Anyways, life has been keeping me busy lately with work, amazing fall weather, and the usual fun fall festivities. I just love this time of the year! Two weekends ago, my husband and I celebrated Durga Puja (a Hindu festival honoring the Goddess Durga) by getting decked out in our Indian clothes, attending a Bengali community gathering at UIC, and then cooking up a Bengali feast at home. I feel like I’m finally mastering my mom’s classic chicken curry and wanted to share the recipe with you guys. It’s incredibly simple to make, but always hits the spot when I’m craving homemade Indian food. It really is the best comfort food and I love how Bengalis add a little bit of sugar to their chicken curries. It makes all the difference.

Enjoy the recipe and give me a shout if you have any questions!

unnamed (16)

Ingredients (serves 4-6)

6 chicken drumsticks, 6 chicken thighs
1 tbsp Greek yogurt
1 tbsp milk
1/2 large onion, sliced into long slender pieces
4 garlic gloves, grated
1/2 teaspoon ginger paste
Optional: 3 green chilis, 2 bay leaves, 1 tsp cumin powder, 1 tsp coriander powder, 1/2 tsp peppercorn
1.5 tsp haldi (turmeric powder)
1/2 tomato, finely diced
1/2 tsp sugar
1 tsp garam masala
1 tsp Kashmiri chili powder
Salt, to taste
2 tbsp vegetable oil
Cilantro leaves, for garnish

Recipe 

In a large bowl, marinate the drumsticks and thighs in the Greek yogurt,  1/2 teaspoon of haldi and a sprinkling of salt. Don’t go overboard with the yogurt, because it can easily curdle while cooking! I’ve learned that the hard way.

While the chicken is marinating, prep the onion, garlic, ginger, and tomatoes. Heat the oil on a large pan. Once the oil is hot, drop in the sugar until it becomes to caramelize. Stir the sugar around the pan so it doesn’t stick to the pan – this is what will give the curry a darker color. Fry the onions, garlic, and ginger in the sugar until the mixture becomes a little brown. Throw in the tomatoes, remaining haldi, garam masala, chili powder, optional spices, and stir for a few minutes. Drop in the chicken pieces (get rid of the watery yogurt mixture that’s remaining in the bowl – this will curdle!) and fry on each side for a few minutes till they start browning slightly. Pour the milk over the mixture to help tenderize the chicken. Season the curry generously with salt and continue stirring so that all the chicken is coated in the onion and spice mixture. Add half a cup of water, lower the heat, and cover the pan. Let the curry simmer on low for 20-30 minutes – note that the thighs will cook first (after 15-20 minutes), so remove them into a separate platter to avoid overcooking. The drumsticks will take slightly longer to cook. Once the drumsticks are done, taste the curry to make sure it’s seasoned to your liking (this is there stage where I usually add more garam masala or chili powder!).

Finally, garnish the curry with fresh cilantro leaves and serve with a steaming hot plate of rice and a side of Greek yogurt. Best enjoyed on a rainy, homesick sorta day.

Burmese Fall Feast: Khao Soi

Noodles might just be my favorite food. Ever. Growing up, I had an obsession with any and all noodle dishes – from my mom’s homemade stir fry noodles & veggies, to soupy, masala-filled Maggi in India, I loved it all. Living in Indonesia for four years was pretty much food heaven (mie goreng, anyone?) and I’m probably the only American college kid who didn’t hate having to live on ramen.

So when I saw a new noodles recipe floating around on Instagram for the Burmese coconut curry and noodles dish Khao Soi, I knew I had to try it at home. I had tried Khao Soi at a family friend’s home and I remember loving the unique combination of coconut milk, chicken, and egg noodles. SO yummy!

My recipe is slightly adapted from Mallika Basu (my new favorite Indian food blogger!) so feel free to explore both and adapt based on your tastes. The great thing about Khao Soi is that it’s completely customizable – want more spice? Throw in some extra chilli powder. Vegetarian? Food Fashion Party has a great recipe for a vegetarian version of this. Do it your own way, enjoy, and let me know if you try this at home!

IMG_8213

Getting the ingredients prepped: spring onions, egg noodles, fried onions, eggs (I ended up only using two), cilantro 

IMG_8215

Cooking the delicious chicken coconut curry to pour over the noodles

IMG_8218

Pouring generous amounts of chicken curry over the noodles

IMG_8219

Voila! 

IMG_8221

Beauty.

IMG_8224

Ingredients (serves 2 generously…with leftovers!)

6 chicken thighs
1/4 large onion, diced
6 garlic cloves, finely diced
1/2 teaspoon ginger paste
1/2 teaspoon turmeric
1/2 teaspoon garam masala
1 teaspoon chili powder
1 small can coconut milk
Salt and pepper, to taste
2 servings of egg noodles (if you can’t find egg noodles, ramen packets, stir fry noodles, or even pappardelle works!)
Oil

Garnishes

2 eggs is plenty, but feel free to add more if you’d like more protein
Cilantro
3 spring onions, chopped up
1/4 large onion, diced
Limes

Recipe

There’s two parts to this dish: making the chicken curry and preparing the garnishes. To prepare the chicken curry, heat oil in a large pan. Fry the onions until they become golden brown. Add in the garlic and ginger until everything is nicely mixed together. Then add the turmeric, garam masala, chili powder and stir for a few minutes. Drop in the chicken thighs and fry on each side for a few minutes. Stir the chicken with the mixture so that they’re nicely coated in the masalas. Add a cup of hot water and cover. Let the chicken cook for 15 minutes.

While the curry is cooking, prepare your garnishes and set them out in separate bowls for people to prepare their own noodles.

  • Boil eggs, cut into two separate pieces (you can also mash them up into little pieces like Mallika’s recipe)
  • Fry the onions and garlic together till they’re golden and a little crispy
  • Chop up the cilantro
  • Set out the spring onions
  • Cut the limes into small pieces
  • Cook noodles, per directions

Once the chicken is done cooking, shred each thigh into 2-3 pieces using two forks. Pour in the coconut milk and let simmer for a few minutes until the chicken is completely cooked in the coconut curry. Pour the curry into a large bowl. You can dress this up however you want, but this is how I did it:

  • Serve noodles in a bowl
  • Pour the chicken curry over the noodles until they’re submerged in curry
  • Top with onions, garlic, spring onions, and cilantro
  • Add the eggs on top
  • Squeeze some lime over the dish
  • Devour, and help yourself to seconds!

And voila – you’re done!

Bengali Salmon Curry (Macher Jhol)

Every family has that one meal that reminds them of home. It’s usually simple and uncomplicated, the meal that you remember eating on a weeknight after a long day of school and homework. For me, that dish is bhaat, daal, and macher jhol. Rice, lentils, and fish curry.

My family hails from West Bengal in India and we’re obsessed with fish. Growing up, we moved from the United Arab Emirates, to France, to Indonesia, to Texas and Bombay, but fish was always a staple with our dinner. The best part about living in different countries is that we would get to try different types of local fish (pomphret, carp, Indonesian gurami, Bengali hilsa), but always cooked as a simple macher jhol with Bengali spices. The ultimate comfort food that made our home feel like home, no matter where in the world we were.

I miss my mom’s fish curry every day. My recipe will never be as good as hers, but at least it satisfies my cravings for a little taste of home on cold Chicago nights. I hope you enjoy it as much as I do!

IMG_8174

Pieces of salmon, cut in squares, marinaded in turmeric and salt 

IMG_8177

Kalo jeere (black cumin) – the most important spice for Bengali cuisine! 

IMG_8180

Salmon simmering in the light curry of onions, garlic, ginger, tomatoes and turmeric

Ingredients (serves 2) 

1 salmon fillet, cut in 4-5 squares
1/4 onion, diced
3 cloves garlic
1/4 tsp ginger paste
Salt, to taste
2 tsp haldi (turmeric powder)
1/2 tsp kalo jeere (black cumin)
1/2 tomato, diced (can be substituted with 1/2 tsp tomato ketchup or paste)
Oil

Recipe 

Marinade the salmon pieces in 1 and a half tsp of haldi and season generously with salt.

Heat oil on a non-stick pan – use your best judgment, but I usually add a little extra than I normally would. A little bit of extra oil makes curries more delicious! Once the oil is heated, pour the kalo jeere and let fry for 15 seconds. Add in the onions, garlic, and ginger and fry this mixture together for a minute or till the onions are slightly brown. Add in salt, tomatoes (or ketchup) and the remaining haldi. Stir for a minute on low to medium heat.

Increase the heat to high and gently drop in the salmon pieces. Fry the salmon on each side for a minute. Pour half a cup of water into the mixture and let the salmon simmer in this mixture for a few minutes. Turn off the heat and cover the mixture to let the salmon continue cooking until ready to serve. Do not overcook! The salmon will cook very quickly, especially if they’re cut into small squares, so just keep an eye on the fish and remove from heat so that they’re as soft and succulent as possible.

Serve with a plate of hot rice and make sure to mix it with the curry to enjoy the true flavor of ‘macher jhol’.


Creamy Handmade Fettuccine with Pancetta, Leeks, Mushrooms & Caramelized Onions

Two Fridays ago, my husband and I said “screw you, cold weather” and made creamy handmade fettuccine with pancetta, leeks, mushrooms, and caramelized onions. Drizzled with truffle oil. And generously topped with freshly-grated parmigiano-reggiano.

I know that’s the longest description EVER for something that basically sounds like carbonara, but each of these ingredients were essential for making this pasta the most decadently delicious thing I’ve ever made in my life. The combination of salty pancetta and mushrooms with the sweet caramelized mixture of leeks and shallots, with a touch of cream and truffle oil was just perfect. So perfect, that my husband immediately called his parents after polishing off his plate and invited them over for lunch the next day to sample leftovers. NBD.

You obviously don’t need to make the fettuccine from scratch in order to enjoy this recipe, but trust me, it’s so much better handmade. I’ve included the steps for making the dough below the pictures in case you’re interested in a fun pasta-making workshop with your girlfriends or significant other. It takes some time, but it’s fun and once you’ve tried handmade pasta, there really is nothing better. The texture and taste is just unbeatable! We had a blast turning our home into a little pasta factory–hope you enjoy the pictures and the recipes 🙂

What my kitchen looked like during this entire process:

IMG_7915

Prepping the ingredients – pancetta, leaks, shallots, garlic, mushrooms, semolina flour, and lotsa cheese! 

IMG_7920

The creamy mixture of pancetta, caramelized onions and leeks, and mushrooms. So good. 

IMG_7917

Making the fettuccine – from scratch!

IMG_7918

IMG_7919

IMG_7909

Voila! The final product. A little plate of heaven. 

Recipe for Handmade Fettuccine
*Straight from Bob’s Red Mill Semolina Flour recipe for basic pasta! 

Ingredients

1 and a half cups Bob’s Red Mill Semolina Flour
Half teaspoon salt, optional
2 eggs or 3 egg whites, beaten (we added in an extra yolk or two for the yellow color!)
2 tbsp. water
2 tbsp. olive oil

Combine the semolina flour and salt. Add beaten eggs, water and oil. Mix to make a stiff dough. Knead 10 minutes or until dough is elastic. Wrap dough in a towel or place in plastic bag and let rest for 20 minutes.

For this next part, we used our pasta machine (you can see the process on my Instagram @mrsgcg), but here’s what the recipe suggests if you don’t have a pasta maker:

On a lightly floured surface, roll out to desired thickness and cut as desired to make fettuccine. Bring large pot of water containing half teaspoon oil to a boil. Add pasta and cook until tender (this should take no longer than two minutes).

Recipe for the Sauce

Ingredients (serves 4) 

1 and a half tablespoons of olive oil
1 and a half tablespoons of butter
4 ounces pancetta, diced in small squares
2 shallots, thinly sliced
1 leek, thinly sliced (throw away the dark green and tough stems)
4 cloves of garlic, grated
Sea salt
1/2 cup or 3/4 cup heavy cream (depending on how creamy you want the sauce – can also be subbed with two tablespoons of Greek yogurt)
1 box of mushrooms
Truffle oil
Parmigiano-reggiano
Thyme leaves for garnishing

Directions

Heat the olive oil in a large pan on high heat. Once the oil is heated, add the diced pancetta, lower the heat slightly, and cook for 3-5 minutes until slightly brown. Stir frequently to make sure the pancetta doesn’t stick to the pan.

Add the butter to the pan, along with the sliced leeks, shallots and grated garlic. Saute this mixture for around 5 minutes stirring frequently, add in the mushrooms, and continue stirring for another 5 minutes until the leeks and shallots become soft and caramelized. Lower the heat, and fold in the heavy cream along with a splash of water, stirring all the ingredients until becomes a creamy mixture. Simmer the mixture for a few minutes, until the cream thickens. Season with sea salt and pepper – remember, the pancetta already packs a ton of salty flavor, so go easy on the salt! Turn off the heat till your cooked pasta is ready to be added into the mixture.

Once the pasta is prepared, transfer in small increments to the creamy mixture to make sure you’re happy with the pasta-to-cream ratio. Stir the pasta with the mixture until it’s evenly coated to your desire.

Suggested Plating

This is a beautiful lookin’ pasta, so make sure to dress it up just right! Serve the pasta hot on a plate with freshly grated parmigiano-reggiano. Garnish with thyme leaves and a few drizzles of truffle oil. A little bit goes a long way with truffle oil, so make sure it’s just a drizzle! Sit back, enjoy. With a big glass of red.

Pssst – if you liked this recipe, don’t forget to subscribe to my blog so you get new posts via email!

Sunday Dinners: Sweet & Salty Vietnamese Stir Fry

Sunday dinners are my favorite. There’s something so relaxing about spending a lazy Sunday bringing an entire meal to life – finding the perfect recipe, getting groceries, and then just chopping, stirring, and cooking away in the kitchen with a good playlist in the background. Sometimes my husband and I will cook together, but he’s been spending most of his weekends this summer at work (he’s a medical resident), so Sunday evenings are just my time to be alone and unwind in the kitchen. And I love it.

This past Sunday, I was inspired by a recipe from My Healthy Dish. If you haven’t checked out My Nguyen’s blog yet, do it! She was a panelist at the Create + Cultivate conference that I attended this past weekend, and I just fell in love with her sassy sense of humour and no BS attitude. Her recipes are super easy and healthy, perfect for a quick weeknight meal. She’s a mother of two, so she’s completely mastered the art of whipping up a quick meal without compromising on nutrition.

I followed her recipe for Vietnamese Caramelized Shrimp, but added some extra veggies (asparagus, zucchini, and green bell peppers) and cooked the shrimp and vegetables all at once with the fish sauce, soy sauce, brown sugar, and maple sugar. Yum! Paired with a light egg fried rice and I’m all ready for the work week 🙂

IMG_7214 IMG_7219 IMG_7220

Indian Comfort Food: Paneer Makhani

Fall is officially here in Chicago, which means it’s time to take out those pea coats, woollen scarves, and boots out of their summer slumber. This is also that time of the year when my body begs for carb-loaded, hearty meals to make it through those miserable Midwestern winter months.

So when I had Columbus Day off last week, I decided to get all my spices out and prepare my favorite Indian comfort food – chicken biryani, a delicious rice pilaf, and paneer makhani, a creamy cottage cheese curry. I had never made paneer makhani before and always assumed it was too complicated to try at home. After searching recipes online (there are so many to choose from, it’s overwhelming!), I finally found one on Show Me The Curry that seemed pretty simple and easy to follow.

The results – oh. my. GOD. I only have this one Instagram picture unfortunately (this was before I decided to start a blog), but I wish you could see the curry close up! The paneer was scrumptious – completely hit the spot, and so easy to make.

photo

Here’s my slightly revised version of the Show Me The Curry Recipe:

Recipe for Paneer Makhani 

Cut a 14 oz block of paneer (I got mine from Costco – surprisingly delicious!) into small-ish squares. Then, chop up one tomato and crush the pieces so that you have one cup of crushed tomatoes. If you’re seriously low on supplies, you can substitute with ketchup.

Heat up some oil and add four tablespoons (a little less than half a stick) of butter. Once the pan is hot, add 1.5 teaspoons of garlic paste and ginger paste and saute for a minute or so. Add in the crushed tomatoes and 1 teaspoon of coriander powder, garam masala, a pinch of red chilli powder and salt to taste. Cook for a minute or until the oil separates. Add in the paneer squares and mix until they’re coated by the spices and tomatoes. Then, add half a glass of water and simmer for five minutes. Lower the heat, add 1/3 a cup of heavy whipping cream (the recipe calls for 1/2 but it’s a little too rich and heavy) and mix gently. Allow it to come to a boil, then add a pinch of sugar.

As the recipe says, garnish with cilantro and serve hot! Best with brown or white rice.

UPDATE: I tried this recipe one year later subbing the heavy whipping cream with 1 tablespoon of greek yogurt and it was just as delicious! Healthier alternative with the same great taste.